Continuous Deployment with Fly.io and GitHub Actions
Example project showing how to run Spring Boot apps on https://fly.io/
You can find the code at Github
Why
To deploy a backend service for demo or personal purposes, a platform is essential. However, the popular platform Heroku is becoming increasingly costly.
This may require individuals or businesses to explore alternative options that are more affordable.
HowTo
So why not start using fly.io by checking out their hands-on guide at https://fly.io/docs/hands-on/
Build example Spring Boot app with Dockerfile
As stated in https://fly.io/docs/hands-on/launch-app/
Fly.io allows you to deploy any kind of app as long as it is packaged in a Docker image. That also means you can just deploy a Docker image and as it happens we have one ready to go in flyio/hellofly:latest.
That means you can use the proposed command flyctl launch --image flyio/hellofly:latest - but this would only launch a pre-build app based on the fly.io image flyio/hellofly https://hub.docker.com/r/flyio/hellofly
But as we want to use our own Spring Boot project at https://github.com/fixcer/flyio we need to create a Docker image first.
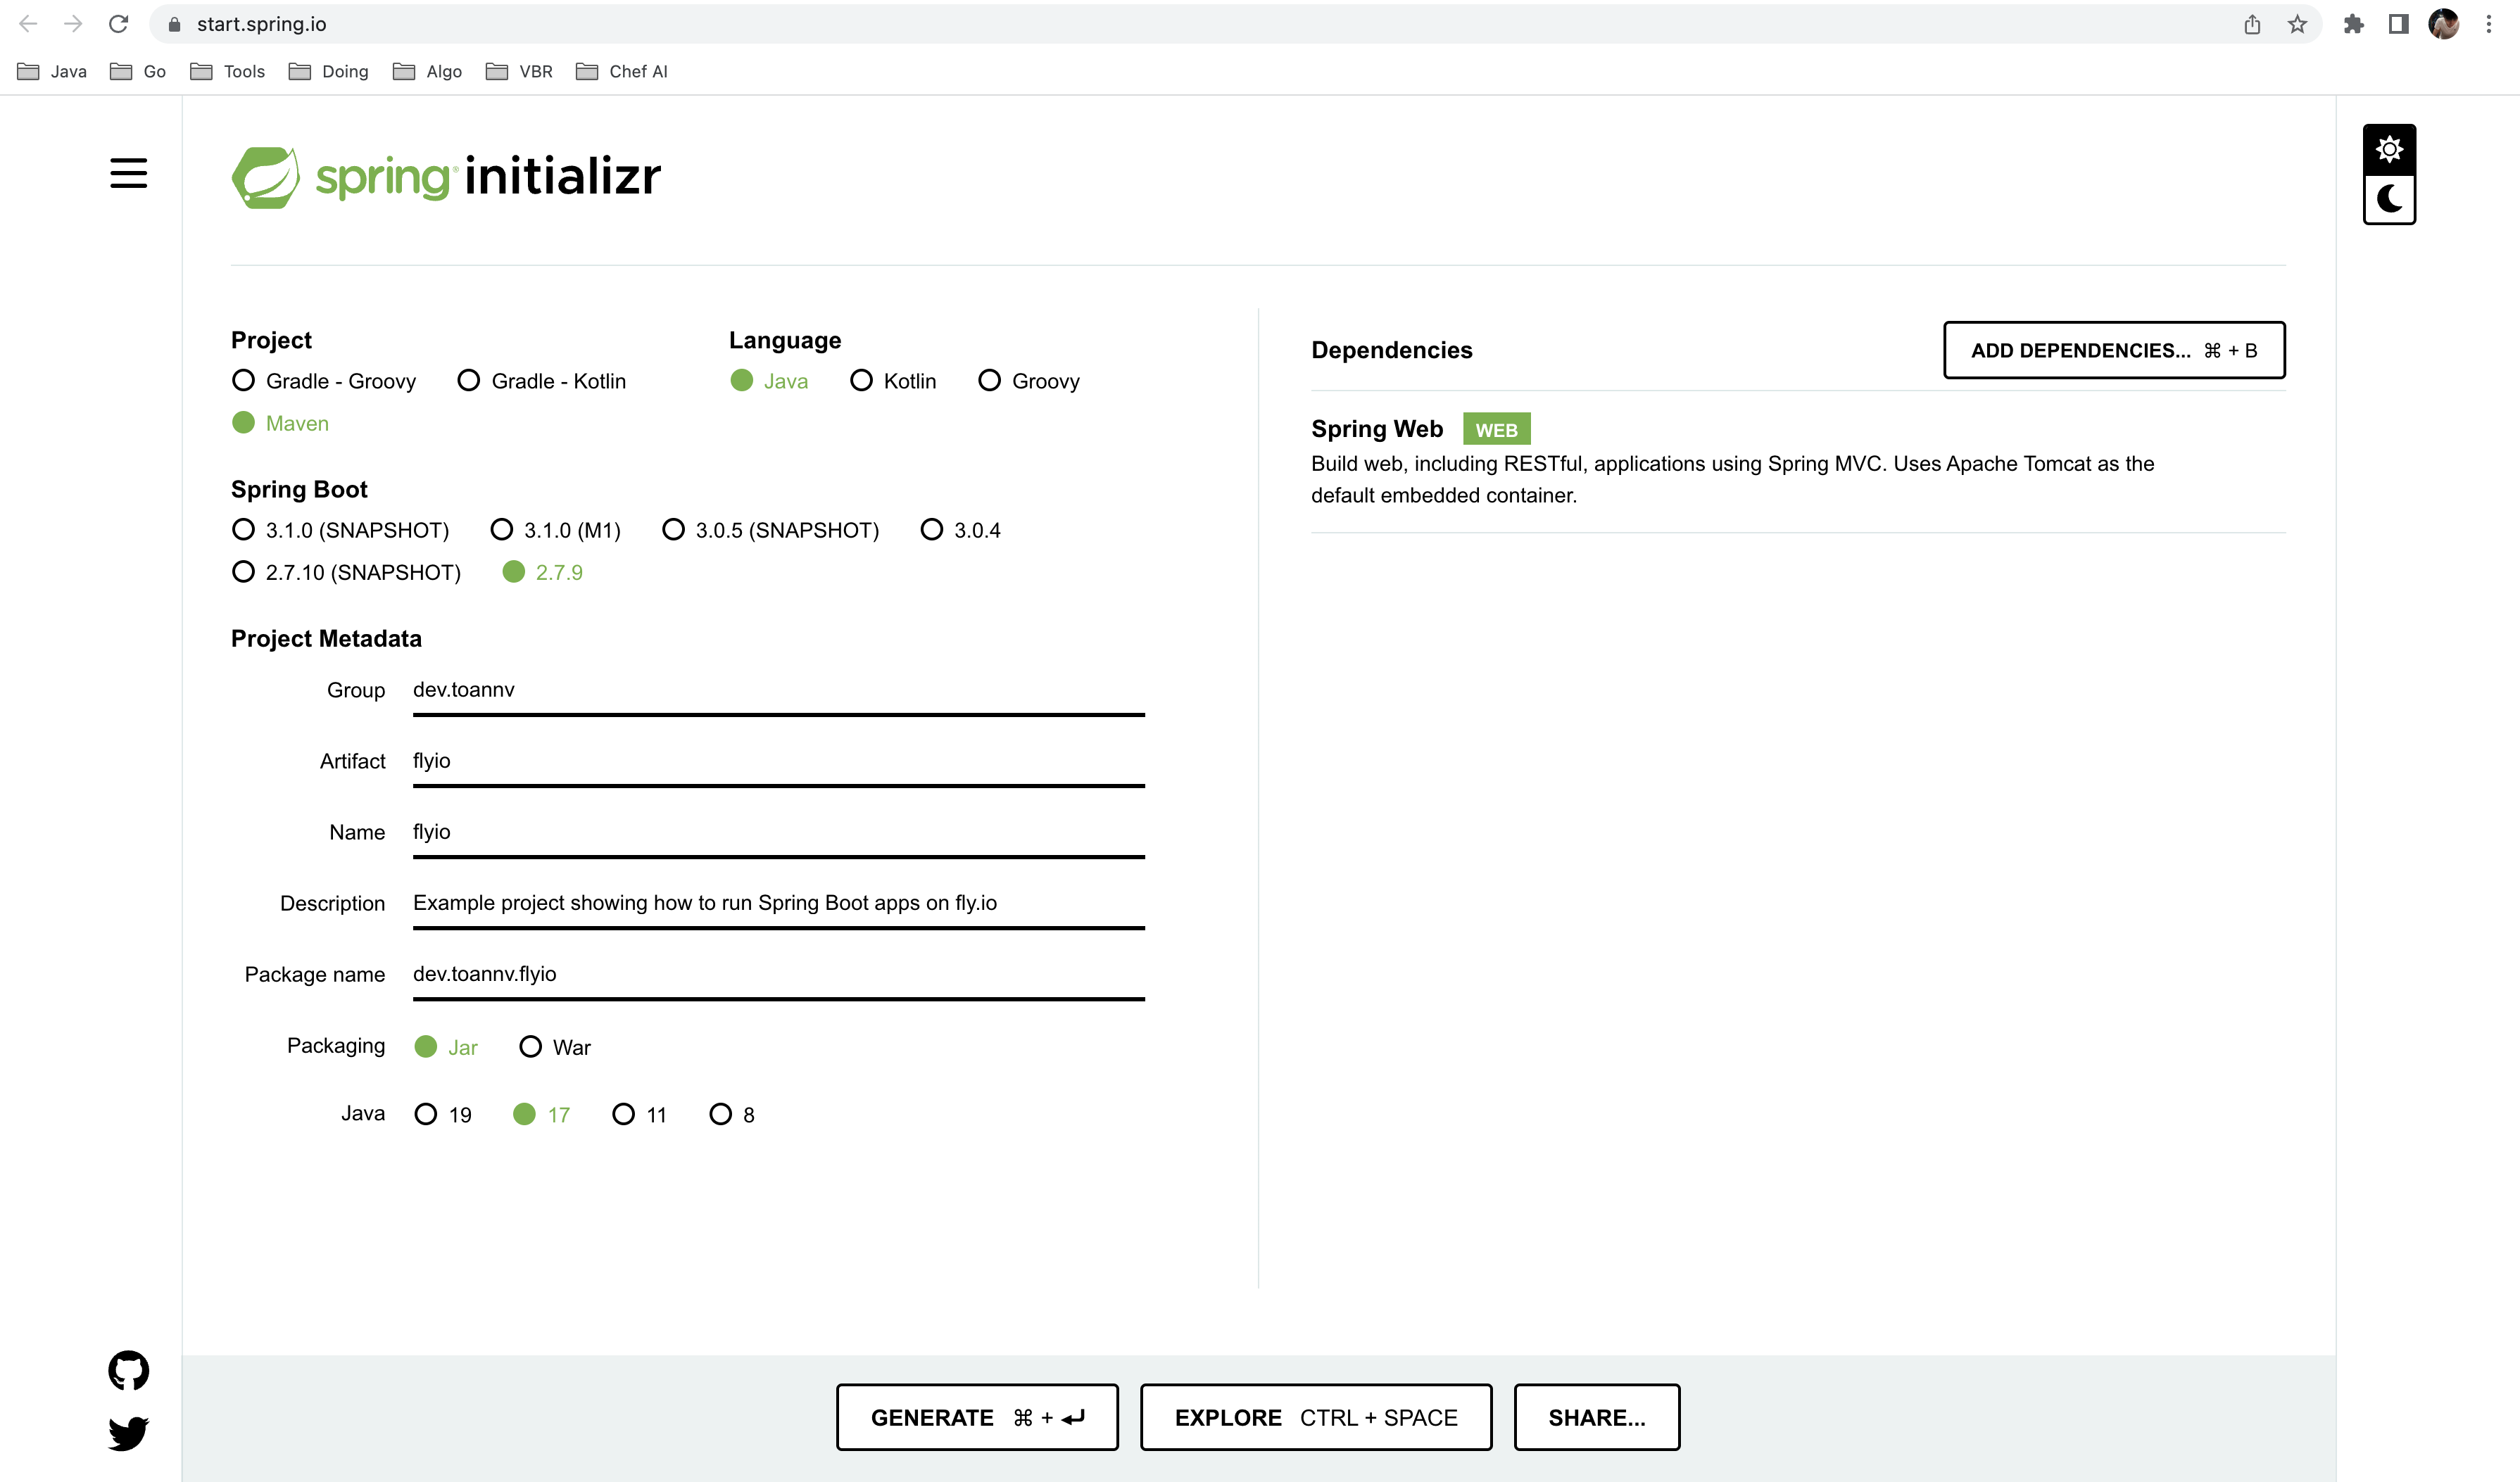
Spring Boot project is created by using https://start.spring.io/ with the following dependencies:
In the root of our project we can create a Dockerfile like this:
# Base image
FROM openjdk:17-jdk-slim

# Keep consistent with pom.xml
ENV APP_JAR_NAME flyio

RUN mkdir /app

ADD ./target/flyio.jar /app/

WORKDIR /app

# Expose port
EXPOSE 8080

ENTRYPOINT ["java", "-Duser.timezone=Asia/Saigon", "-jar", "flyio.jar"]
Note: By default, when running mvn package, the Spring Boot Maven Plugin generates a fat jar named ${name}-${version}.jar, with ${name} and ${version} values taken from the pom.xml file. However, it is possible to configure the pom.xml file to generate a jar file with a different name that corresponds to the application name.
For more information on this topic, please refer to this link: https://stackoverflow.com/questions/9593473/how-to-build-maven-project-without-version.
Install flyctl
https://fly.io/docs/hands-on/install-flyctl/
On a Mac install flyctl via brew:
brew install flyctl
Signup or login to fly.io
https://fly.io/docs/hands-on/sign-up/ or https://fly.io/docs/hands-on/sign-in/
fly auth signup
Configure flyctl
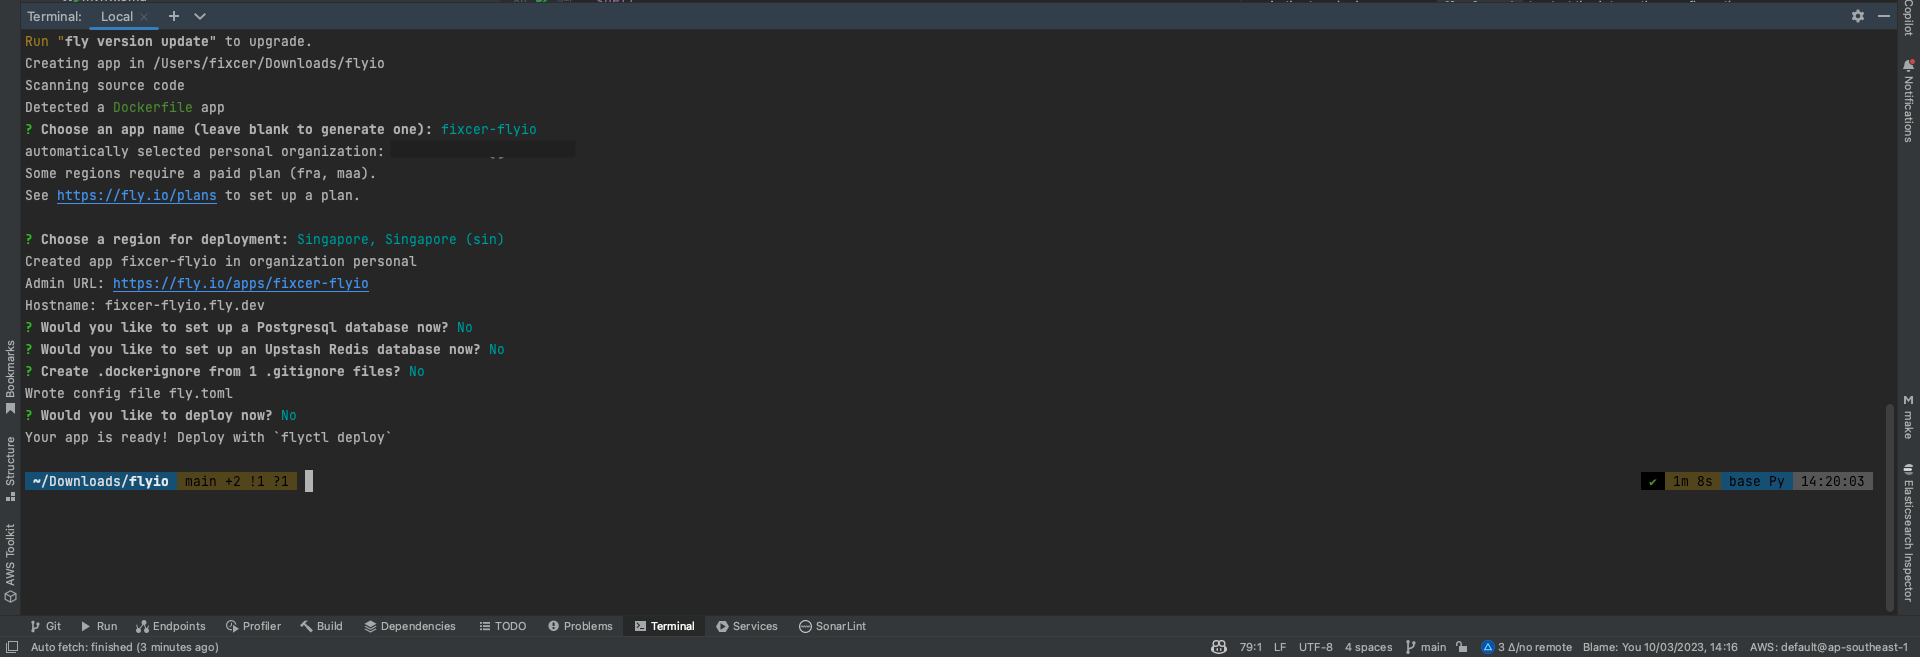
In the terminal we can run fly launch to start the interactive configuration process.
You can set app name, region, etc. and then flyctl will generate a fly.toml file for you. This file is used to configure your app and is used by the flyctl CLI.
Setup GitHub Actions
We want to build our Spring Boot app and push the Docker image to GitHub Container Registry. For that we need to create a GitHub Actions workflow in .github/workflows/deployment.yaml that will be triggered on every push to the main branch.
name: Java CI/CD with Maven and Fly.io

on:
    push:
        branches: [ master, main ]

    workflow_dispatch:

jobs:
    deploy:
        runs-on: ubuntu-latest
        steps:
            -   name: Checkout the repo
                uses: actions/checkout@v3

            -   name: Set up JDK 17
                uses: actions/setup-java@v3
                with:
                    java-version: '17'
                    distribution: 'adopt'
                    cache: maven

            -   name: Build with Maven
                run: mvn clean package

            -   name: Deploy our Spring Boot app to fly.io
                uses: superfly/flyctl-actions/setup-flyctl@master
            -   run: flyctl deploy --remote-only
                env:
                    FLY_API_TOKEN: ${{ secrets.FLY_API_TOKEN }}
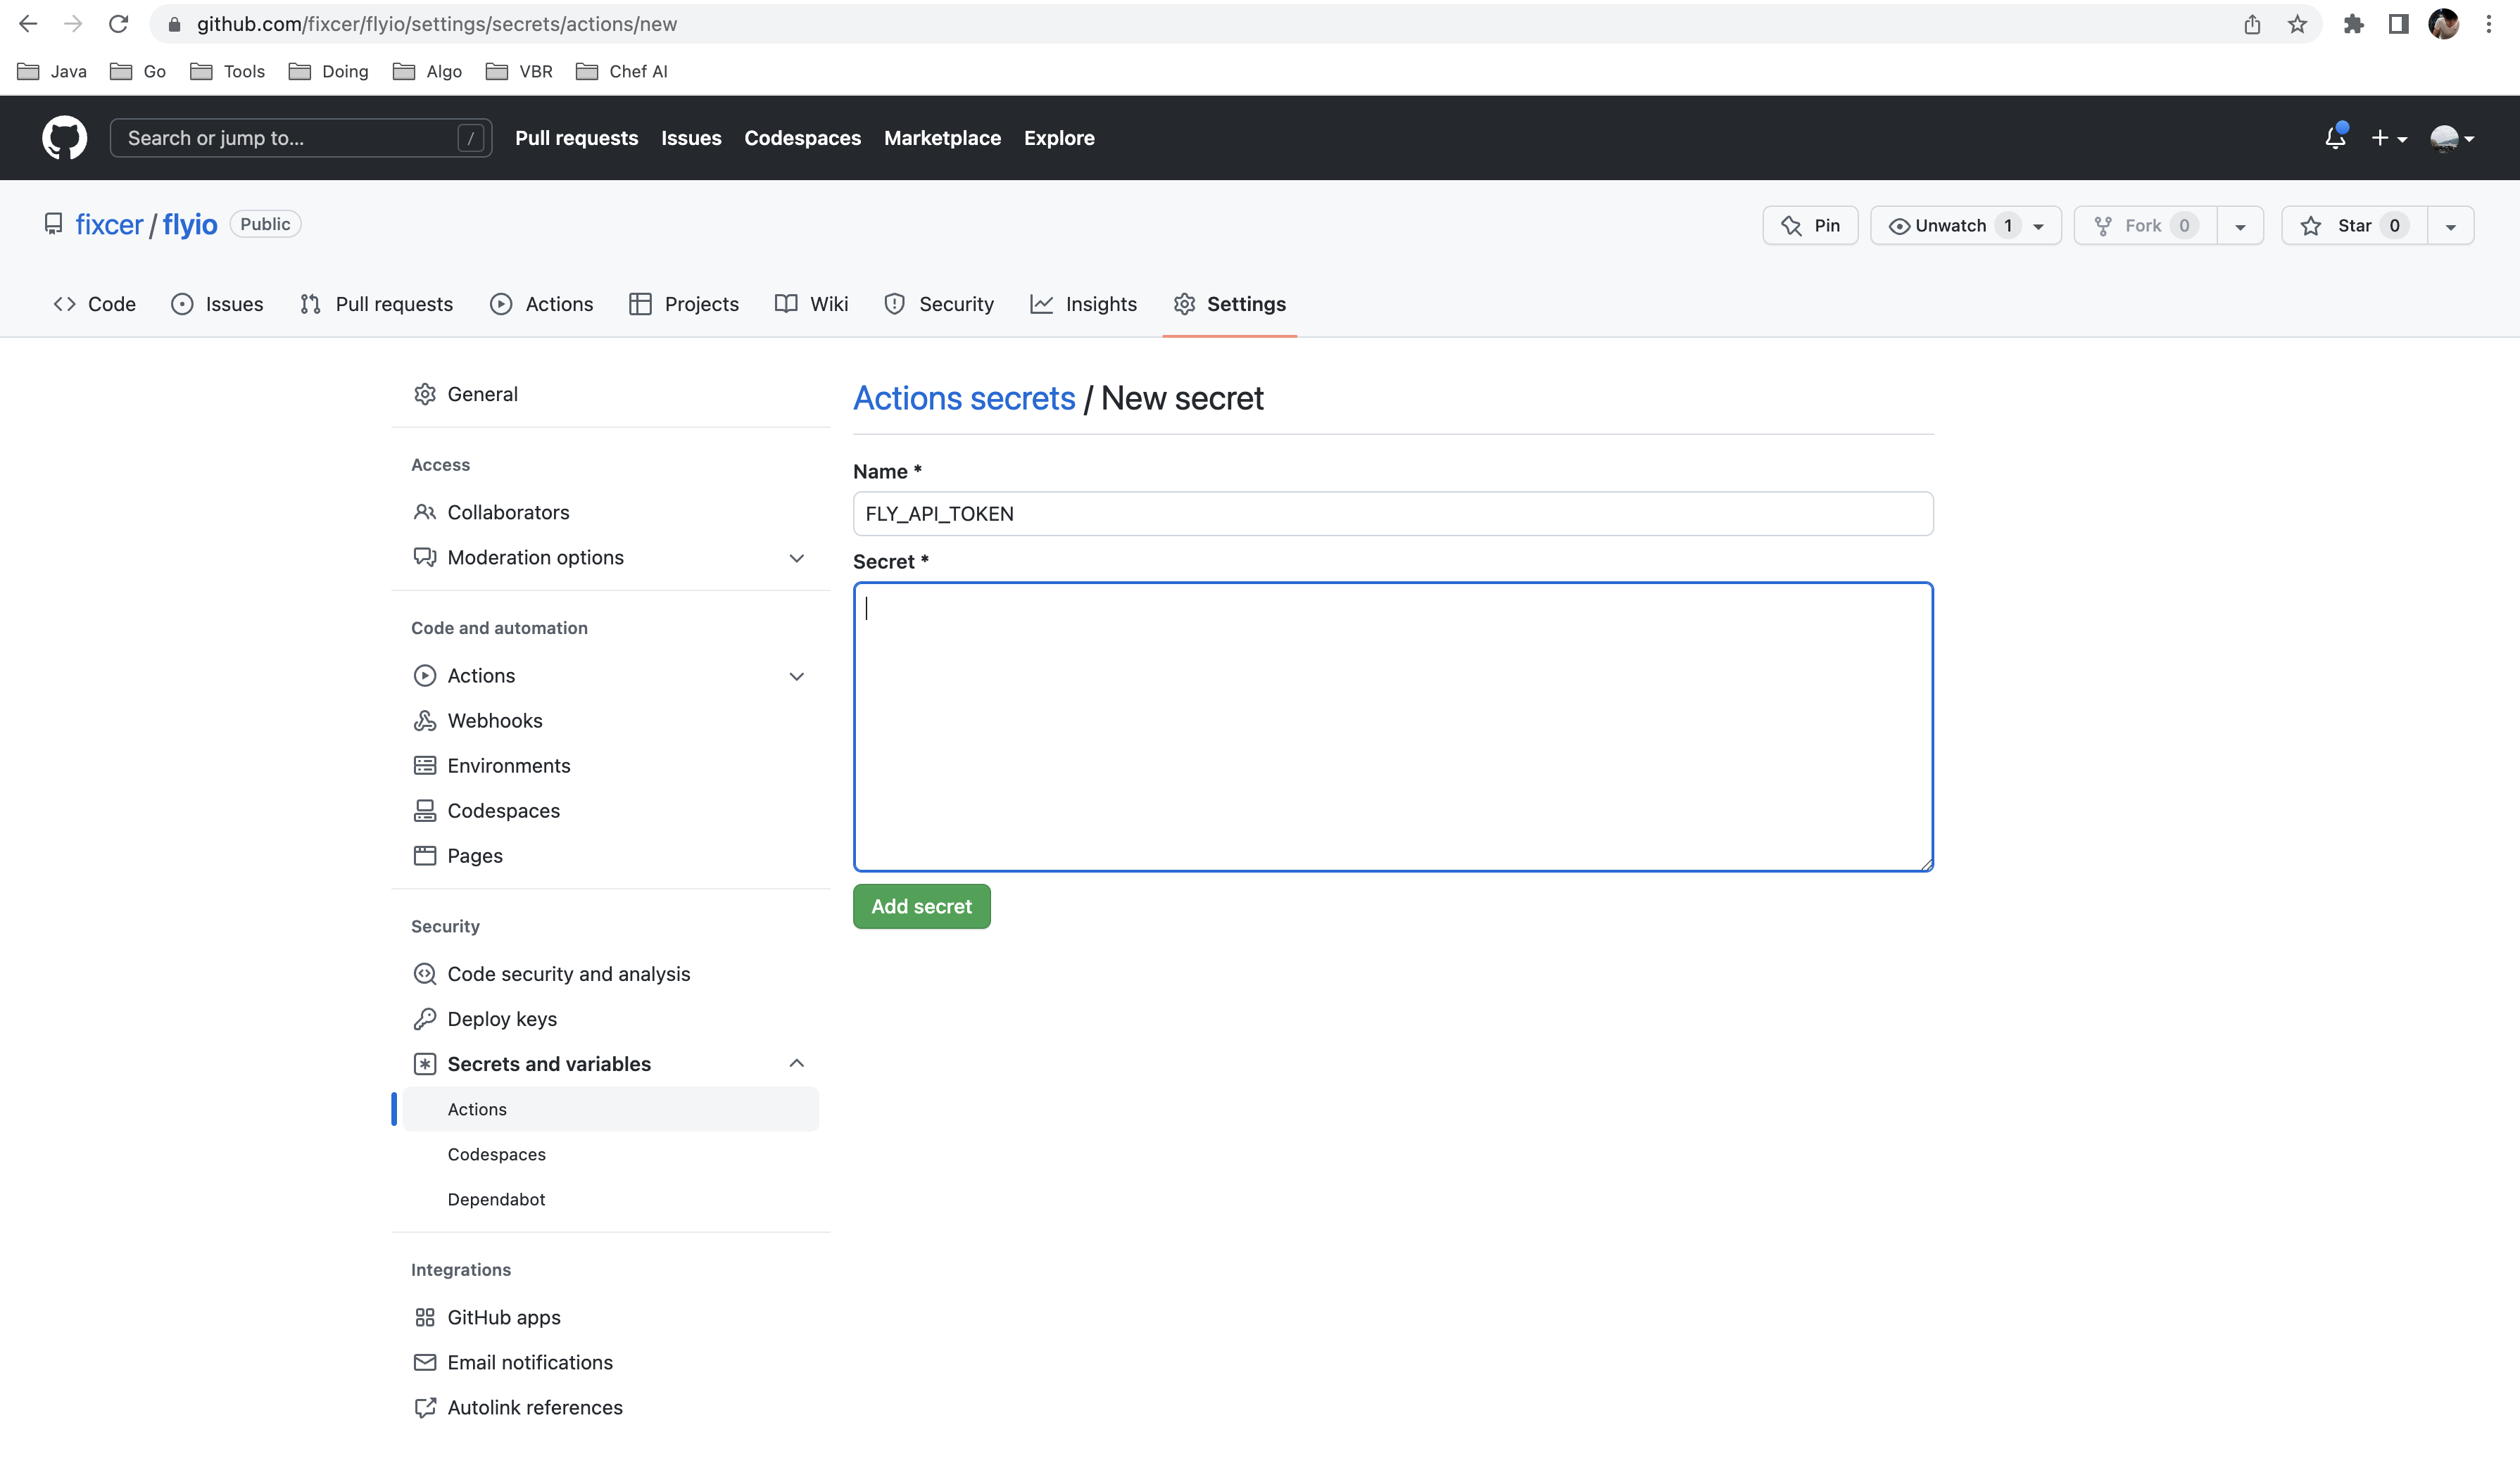
As you can see we need to set the FLY_API_TOKEN secret in the GitHub repository settings. To get the token we need to run flyctl auth token and copy the token.
Deploy Spring Boot app to fly.io
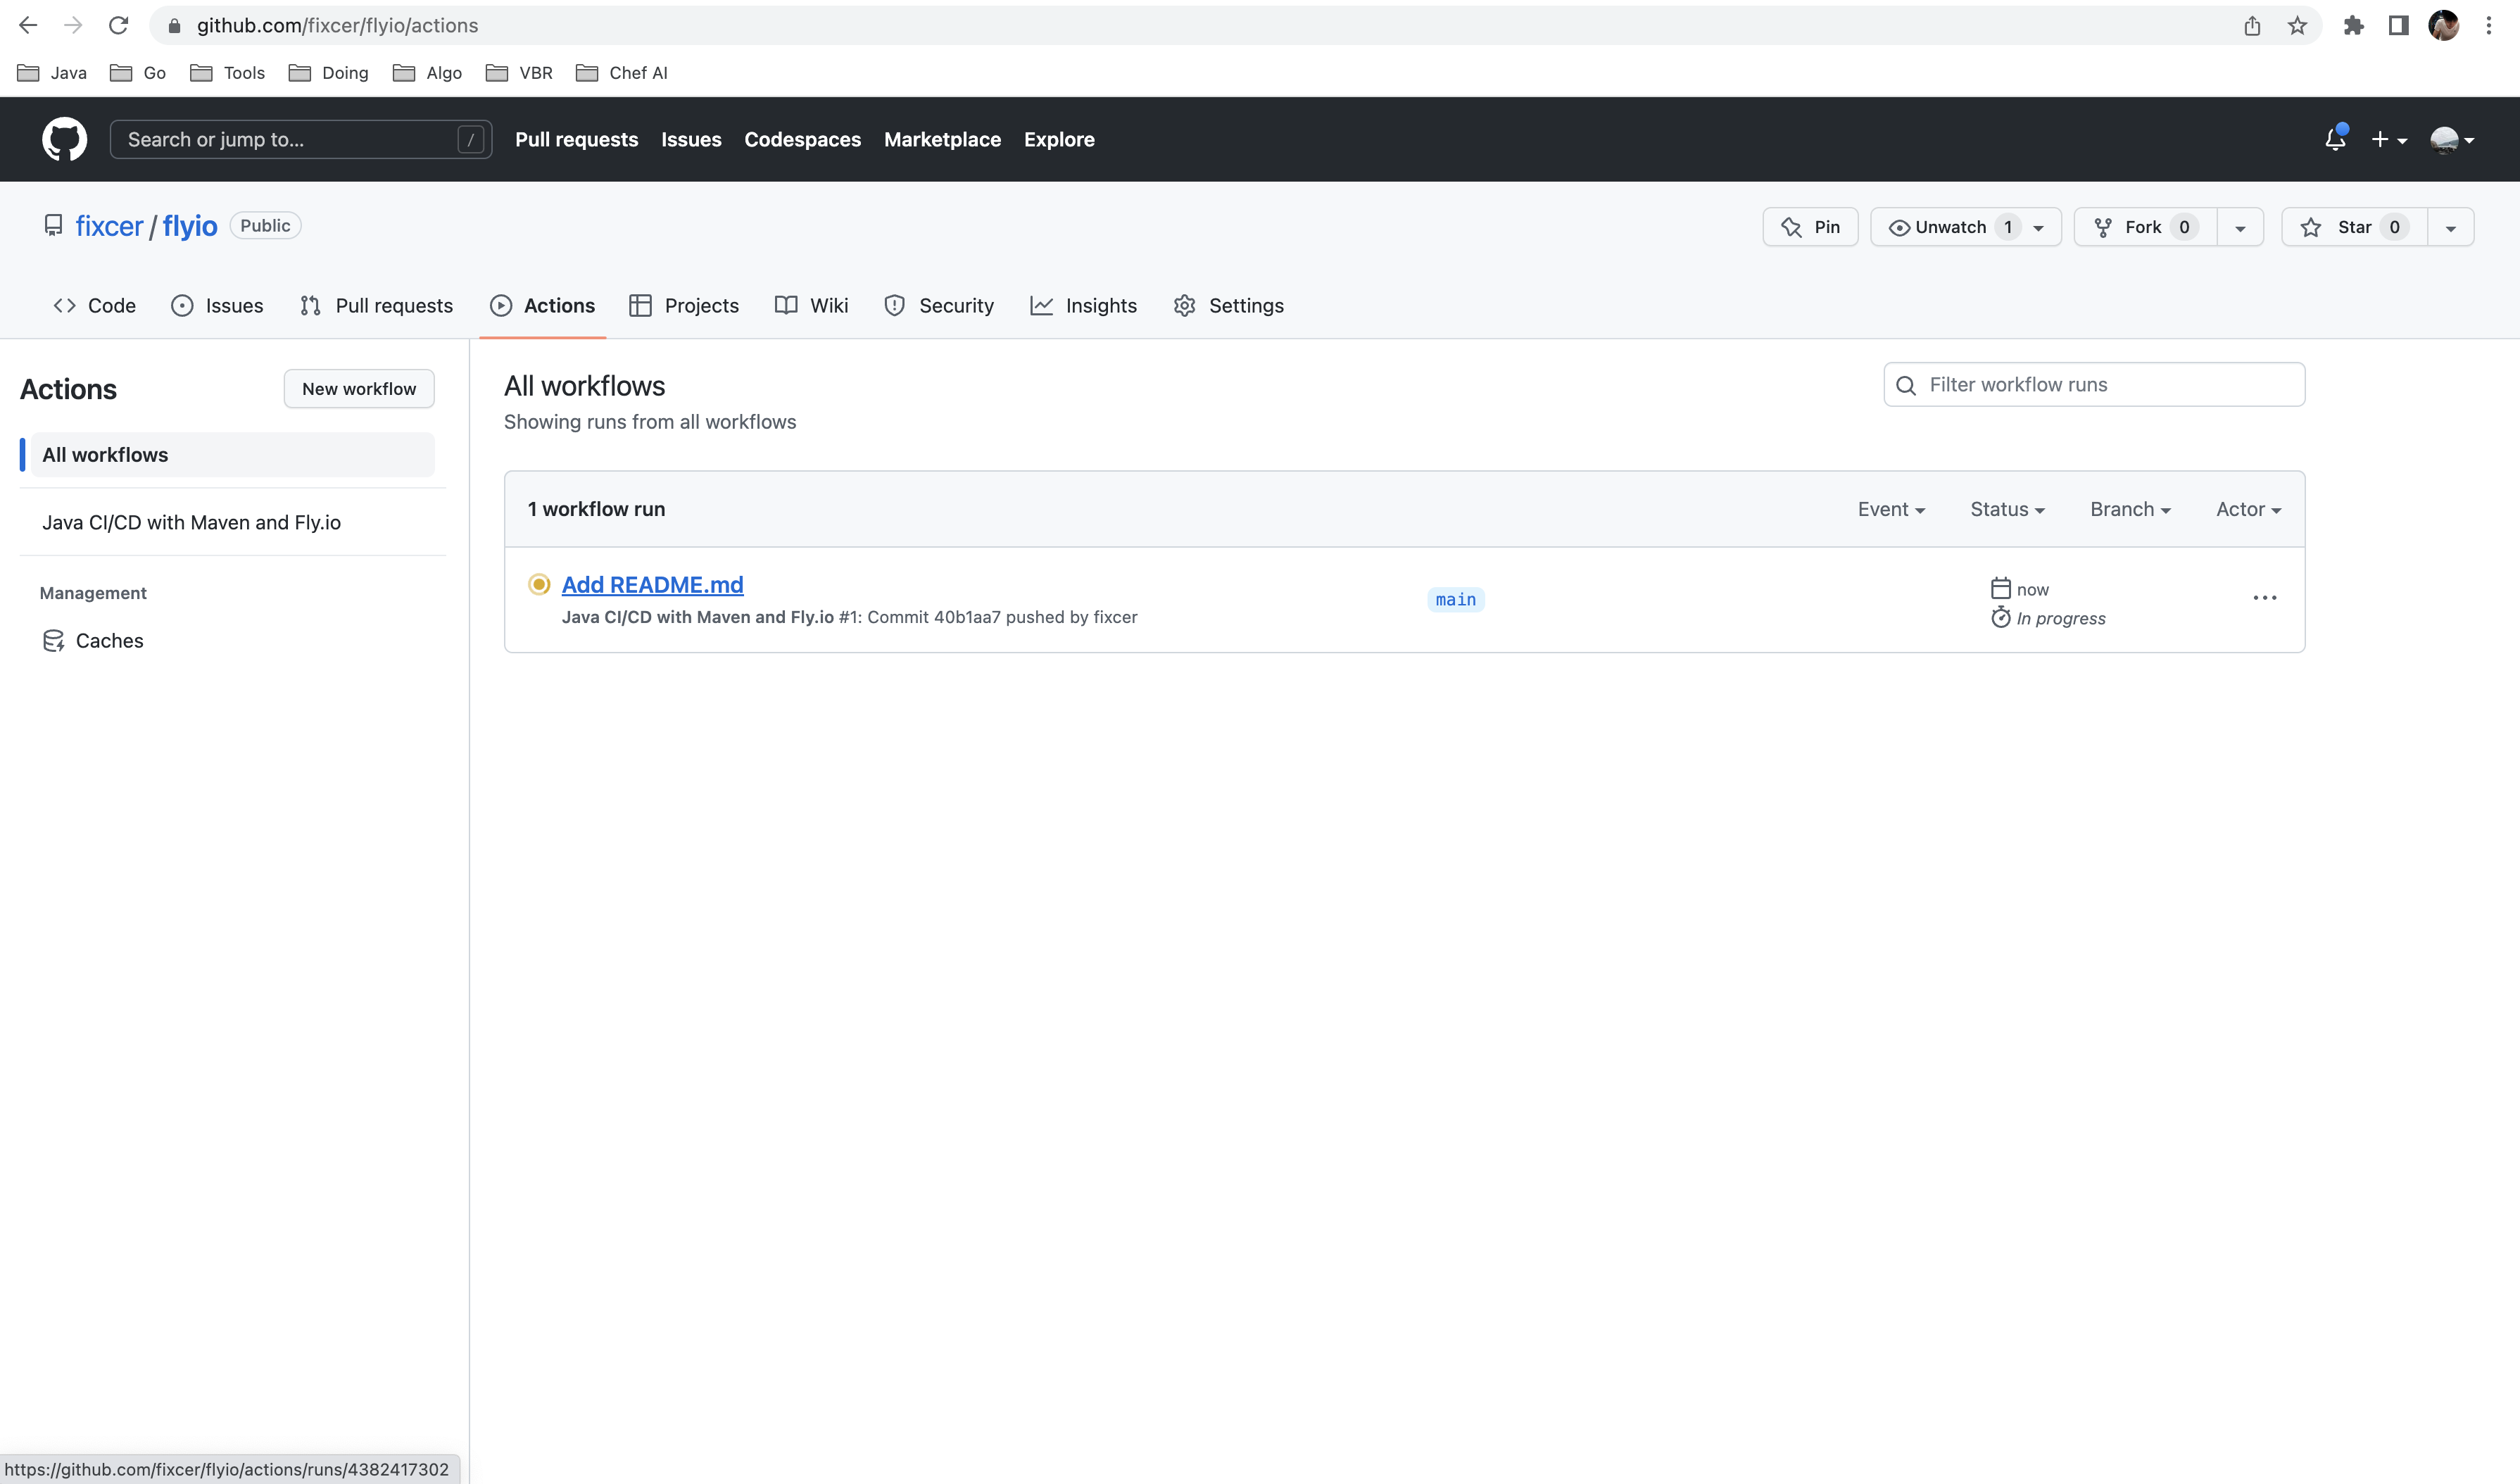
Now we can push our changes to the main branch and watch the GitHub Actions workflow running. After a few minutes our Spring Boot app should be deployed to fly.io.
Access our Spring Boot app on fly.io
Finally, our app should now be accessible to the public: https://fixcer-flyio.fly.dev/
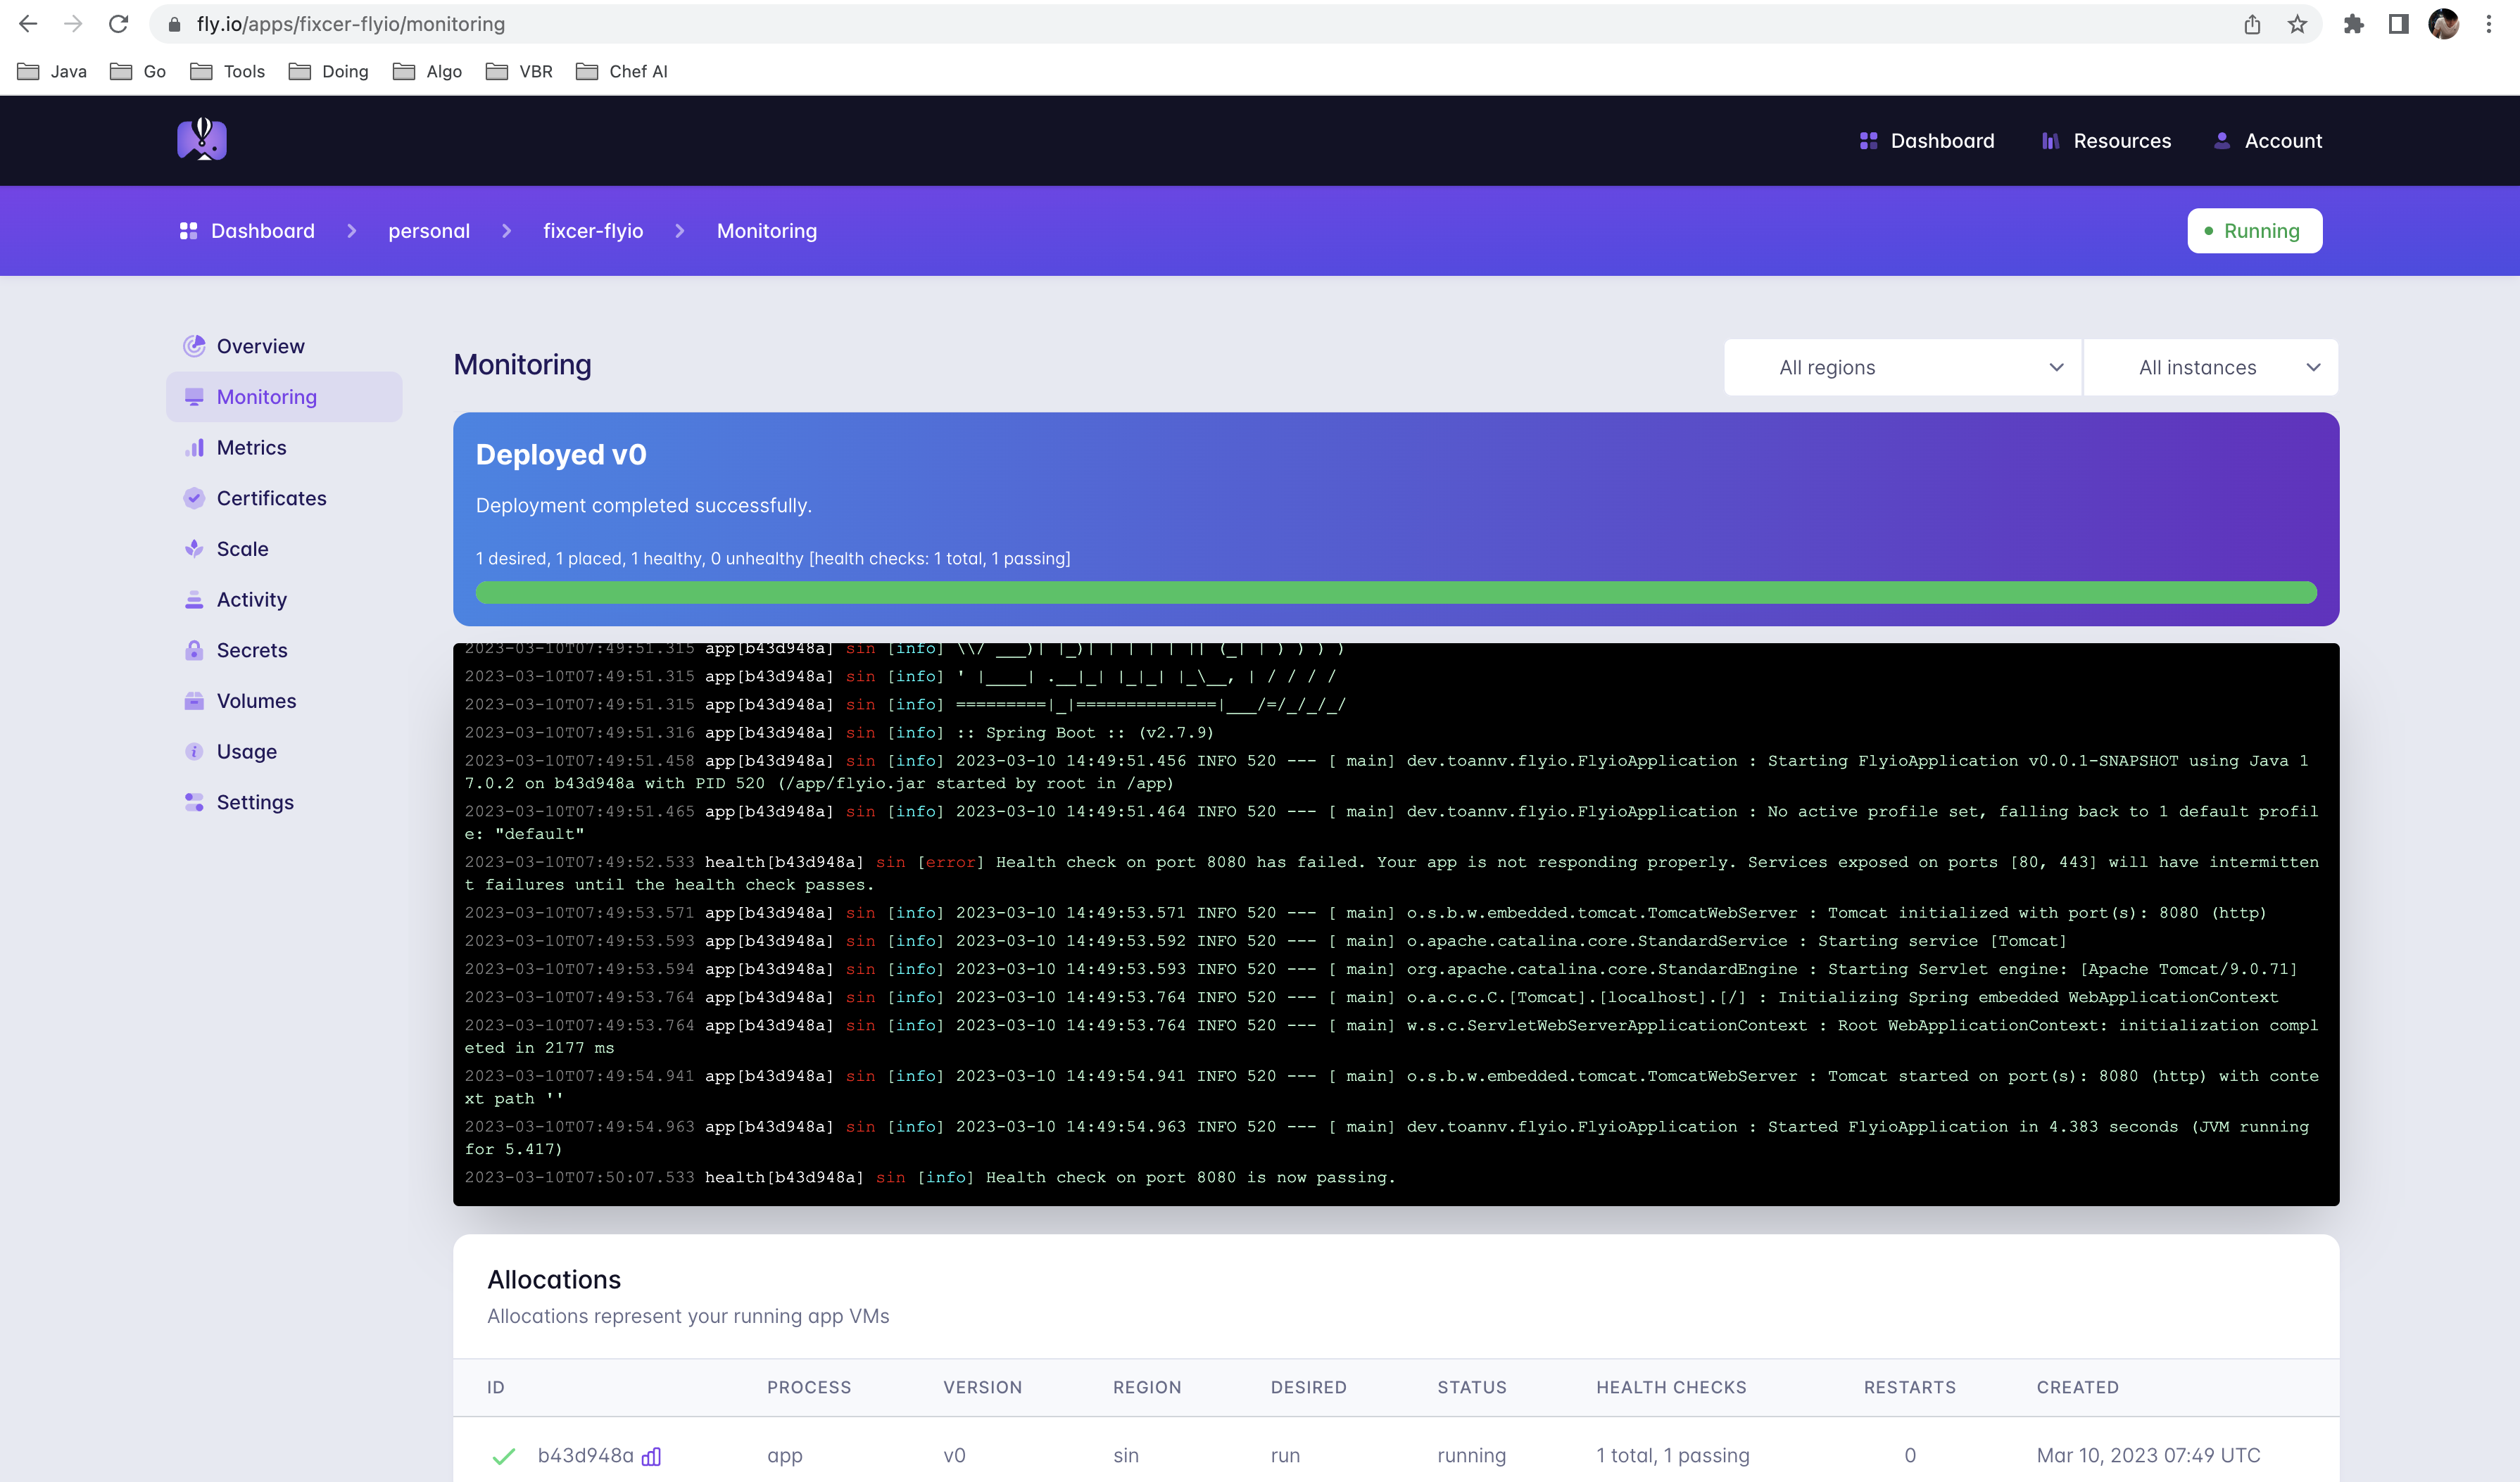
Now that’s pretty cool!